Blog · guides
DIY vs. Professional Emergency Roof Tarping: When Each One Makes Sense
Climbing on a wet, damaged roof is dangerous. Here is when a temporary DIY patch is reasonable and when you absolutely need a licensed Nampa pro.
Storm seasons across the US force many property owners to face the dilemma of DIY vs. Professional Emergency Roof Tarping: When Each One Makes Sense. YouTube makes the installation process look entirely foolproof. Our crews know the reality is much more complicated.
The topic of temporary leak protection — and when to call for professional emergency roofing — is a critical discussion that separates safe relief from devastating home damage.
We often find well-meaning people causing thousands of dollars in extra water damage. This guide will break down the specific conditions that make a self-installed cover acceptable. Our team will then explain the exact methods professionals use and show you how to respond safely.
Let’s explore the facts so you can protect your property correctly.
When DIY Tarping Can Be Reasonable
A property owner might successfully install a temporary patch if they meet a very strict set of criteria. The situation must be nearly perfect to avoid serious injury or further structural issues. Our roofing specialists agree that you should only proceed if all of the following conditions are true.
- The roof is completely dry, daylight is excellent, and the severe weather has fully passed.
- The roof pitch is 4/12 or shallower, which means it rises only 4 inches for every 12 inches of horizontal run.
- The damaged area sits at the lower edge of the roof and is easily reachable from a stable fiberglass extension ladder.
- You have actual roofing experience, comfort working at heights, and a spotter standing at the bottom of the ladder.
- The damage is small, isolated, and a local professional cannot reach your US location within the next 24 hours.
We always check the materials before attempting a patch. A standard blue painter’s drop cloth will fail almost immediately. Our preferred approach requires a heavy-duty, waterproof polyethylene tarp measuring at least 5 to 10 mils thick, which aligns with the Federal Emergency Management Agency (FEMA) guidelines for self-help tarps.
You will also need 1x3 wood battens and heavy-duty roofing screws to anchor the plastic securely. This setup prevents the wind from lifting the edges and turning the cover into a parachute. Our crews find that an experienced DIYer can buy 24 to 72 hours of protection under these limited circumstances. A permanent fix must happen shortly after.
When DIY Tarping Is A Bad Idea
Taking matters into your own hands is rarely worth the physical risk. A 2025 report using data from the Centers for Disease Control and Prevention shows that over 150,000 Americans require medical treatment from roofing accidents annually. Our industry data indicates that a shocking 97 percent of these ladder and roof falls happen at residential homes.
You face a massive risk of severe injury when you ignore weather and structural hazards. We strongly advise against any DIY attempts under the following dangerous conditions.
- The shingles are wet, icy, or covered with snow.
- The roof pitch is steeper than 4/12, which violates safety guidelines without a harness.
- The missing shingles are in the middle of the roof, forcing you to walk far from a safe edge.
- The damaged area is located over an electrical service entrance or near active power lines.
- The hole resulted from a massive tree impact, leaving the structural integrity of the trusses completely uncertain.
- Your home is two or more stories tall and requires fully extending a 24-foot ladder to reach the gutters.
We see people ignore these warnings constantly during storm season. The cost of a hospital visit far exceeds the price of a local contractor. Our recommendation in any of these bad conditions is to contain the interior water with buckets and immediately call a professional.
What Goes Wrong With DIY Tarps
Amateur installations often fail spectacularly just hours after the homeowner climbs down the ladder. Water respects gravity and will exploit any minor installation error it finds. Our repair teams spend a lot of time fixing botched emergency patches before we can even begin the actual structural repairs.
It is incredibly common to see the exact same errors on house after house. We often find that homeowners grabbed whatever plastic sheeting they had in the garage, completely underestimating the force of a US thunderstorm. To illustrate the difference, here is a breakdown of the most common failures we encounter.
| The DIY Mistake | The Professional Standard | The Costly Result |
|---|---|---|
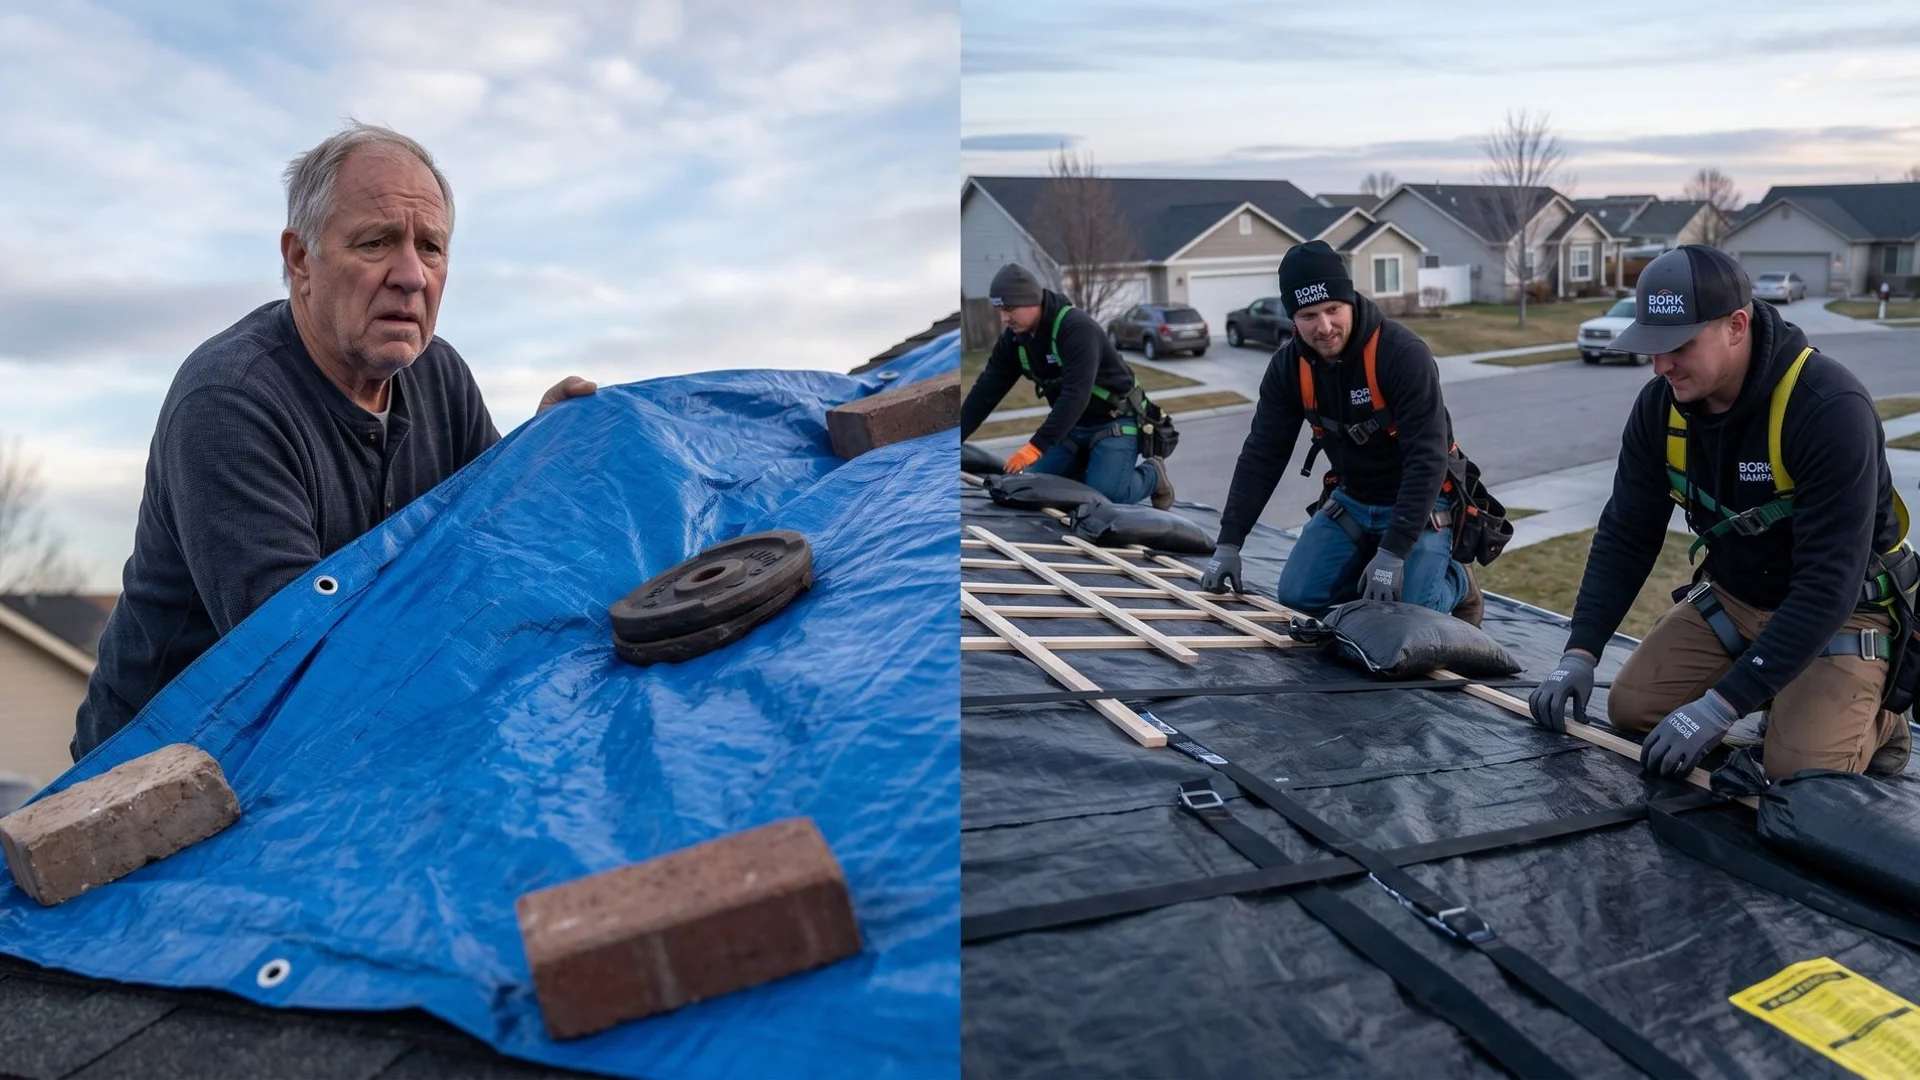
| Using a 2-mil plastic painter’s sheet. | Installing a heavy-duty 6-mil to 10-mil woven polyethylene tarp. | The plastic turns brittle in cold weather and shreds in high winds. |
| Weighing edges down with heavy bricks or tires. | Securing edges tightly with 1x3 wood battens and roofing screws. | Wind lifts the unsecured plastic, allowing heavy rain to pour underneath. |
| Nailing the plastic directly into good, undamaged shingles. | Tucking the top edge under intact shingles and fastening through battens. | The direct nail holes create brand new leak points that rot the roof deck. |
| Covering only the visible hole or missing shingle. | Extending the coverage several feet above the actual damage point. | Water flows downhill from above the patch and completely bypasses it. |
A typical 2-mil drop cloth will not survive the night. Our crews have pulled hundreds of shredded, cheap plastic sheets out of neighborhood gutters. The physical danger of the installation process itself is another major concern.
Homeowner falls account for a massive percentage of serious injuries during the Idaho storm season, which mirrors trends across the entire US. Our local emergency rooms treat broken ankles, shattered wrists, and severe concussions simply because someone tried to save a few dollars on a weekend repair.
What A Professional Tarp Looks Like
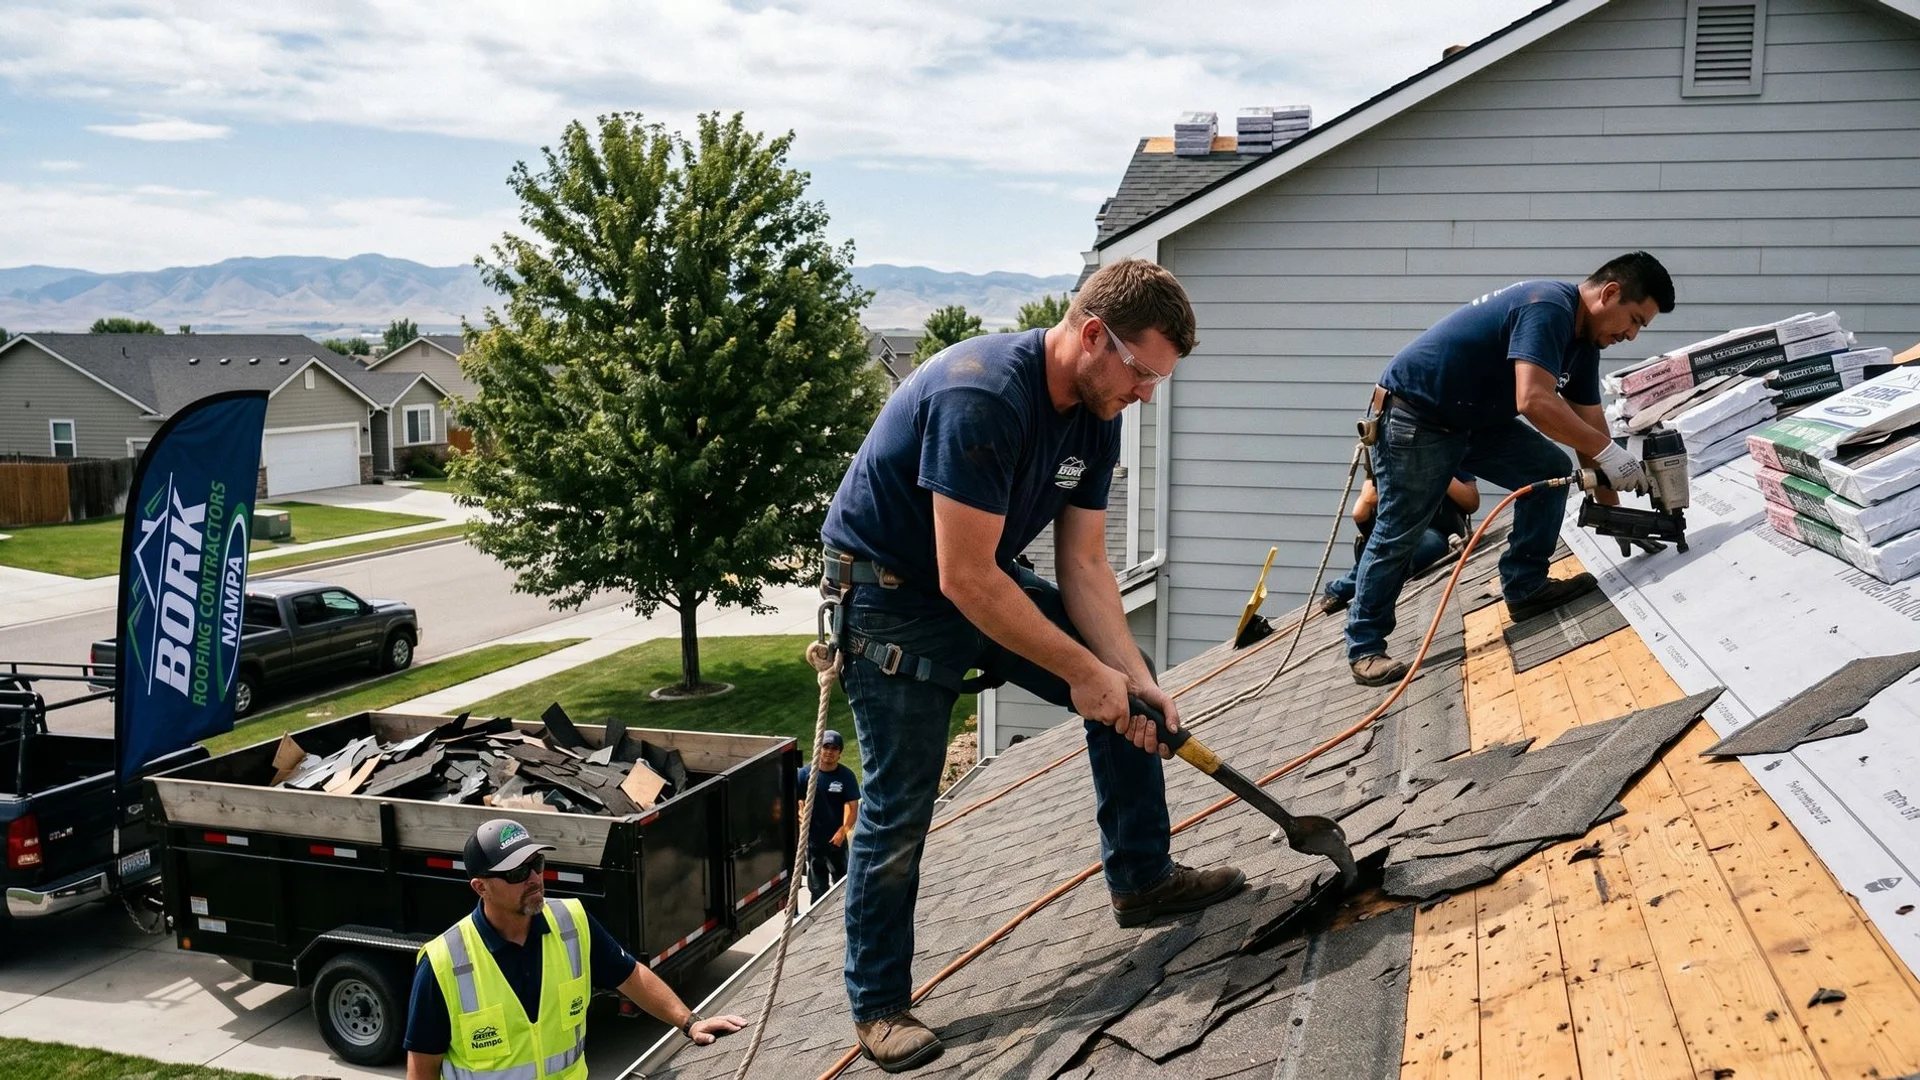
The materials and techniques used by a professional crew look entirely different from a DIY job. A proper installation acts as a secure, weather-tight barrier that protects your home’s interior while you wait for a permanent fix. Our team at Bork Nampa Roofing follows a strict protocol to ensure maximum durability.
The crew utilizes heavy-duty, 6-mil industrial-grade reinforced material for every single job. We specifically choose thick polyethylene because it resists ultraviolet degradation and tearing during intense US weather events. A standard practice involves extending the coverage well above the actual damaged area, since water always flows from higher up the slope.
Engineering the Patch for High Winds
You cannot simply lay the material flat and hope for the best. The wind will catch any loose edge and rip the entire assembly off the house. Our professional installation process includes several mandatory steps to lock the material down.
- The crew carefully tucks the top edge of the plastic under the intact shingles above the leak to prevent water from running underneath.
- Technicians secure the entire system using 1x3 lumber battens and heavy-duty 2-inch roofing screws.
- We place the battens in perfectly straight rows to create a rigid grid that resists powerful wind uplift forces.
- Installers make sure that all exterior edges are securely weighted or fastened down tight to complete the seal.
Our clients also get the benefit of thorough documentation for their insurance provider. The team takes comprehensive before and after photos to support your loss mitigation claim. We guarantee that a professionally installed barrier done correctly lasts 30 to 60 days, giving you plenty of time to schedule a full repair.
What An Emergency Tarp Costs
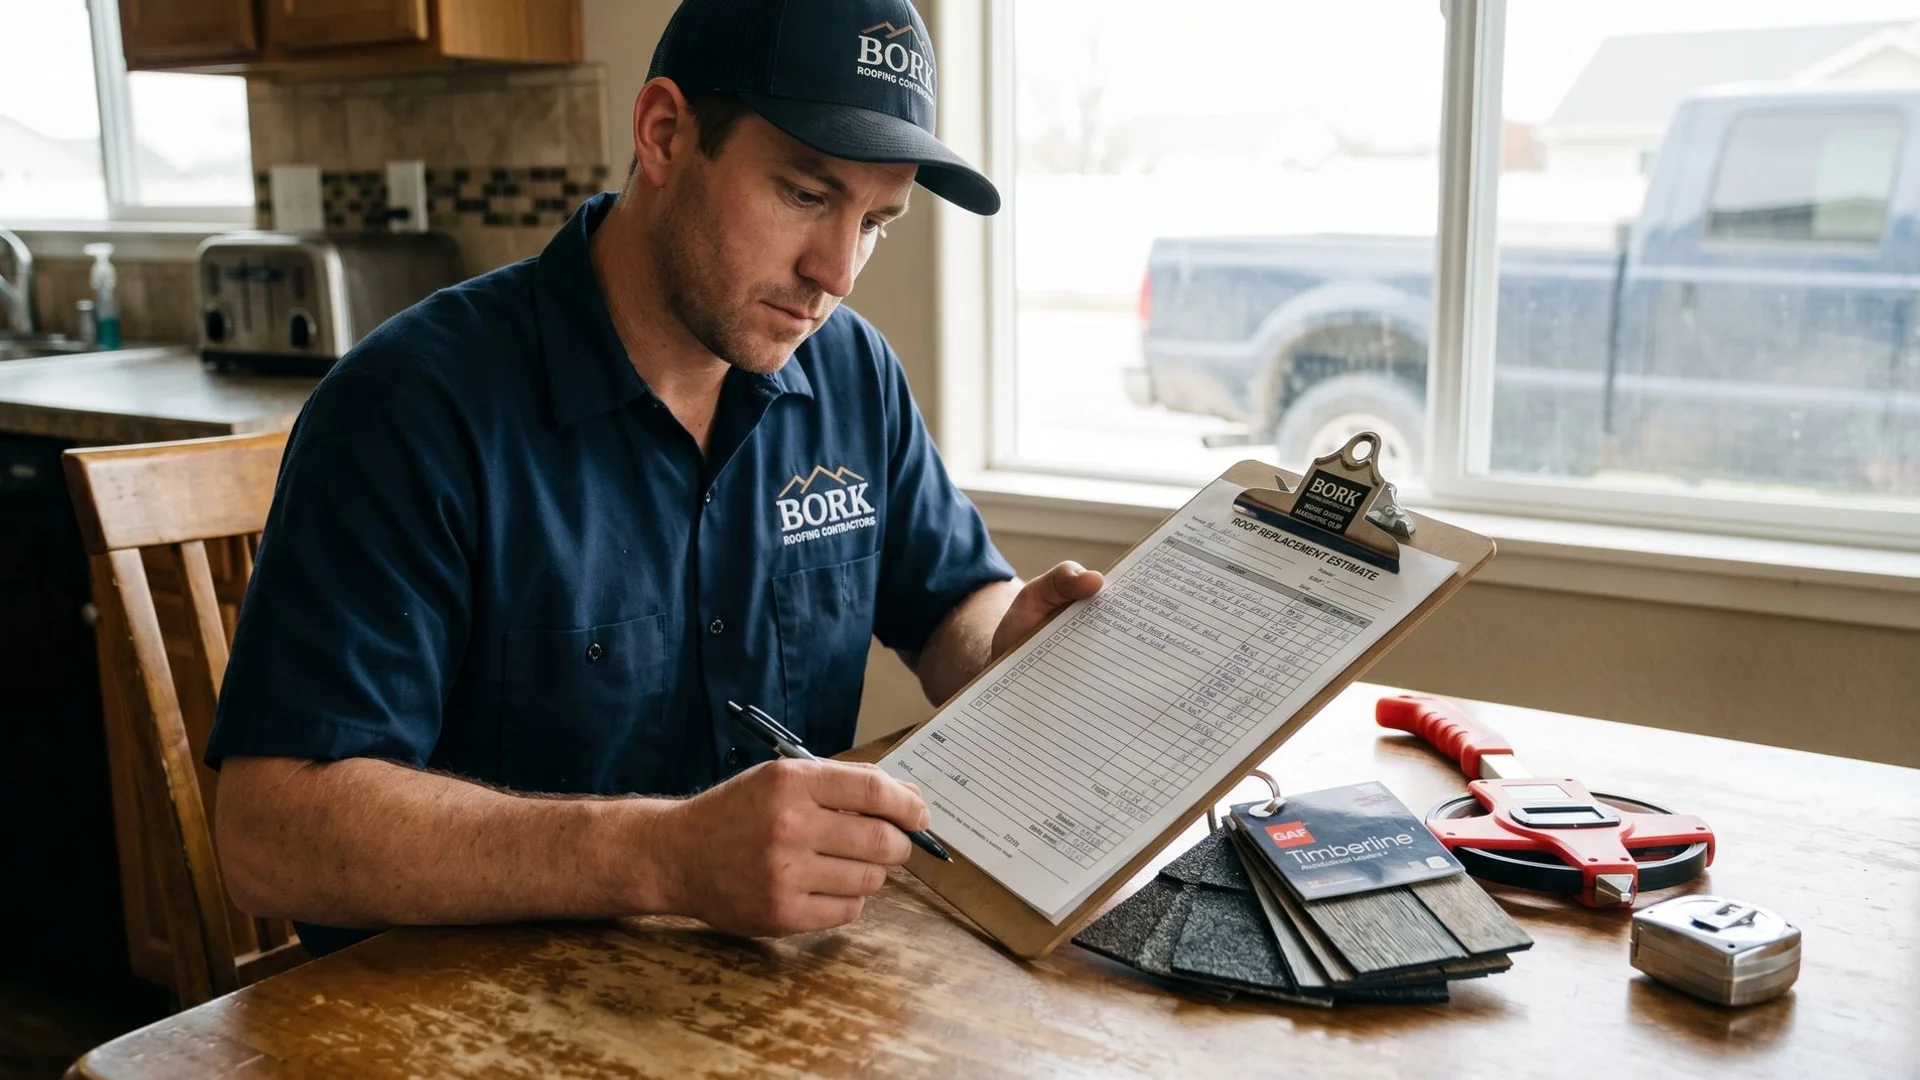
Pricing is often the primary reason homeowners attempt to climb a ladder themselves. Recent 2026 data from Angi shows that the national average cost for professional roof tarping is roughly $450, though emergency dispatch usually costs between $1.00 and $2.80 per square foot. Our standard emergency tarping at Bork Nampa Roofing starts around $350 and can range up to $800 or more for complex situations.
Many property owners do not realize that this out-of-pocket cost is rarely permanent. Most US homeowner insurance policies actually reimburse this expense under the loss mitigation portion of your coverage. Our billing department provides complete documentation and itemized receipts so you get most or all of that money back when your claim closes.
The final price of your temporary repair will depend on a few specific variables:
- The total square footage of the damaged area.
- The steepness and accessibility of your roof pitch.
- The time of day, as late-night or holiday dispatch carries a premium fee.
- The need for additional hazard removal, like a fallen tree branch.
We understand that paying several hundred dollars upfront feels annoying. The alternative is risking a severe injury from a ladder fall or massive interior water damage. Our priority is keeping you safe and your living room dry.
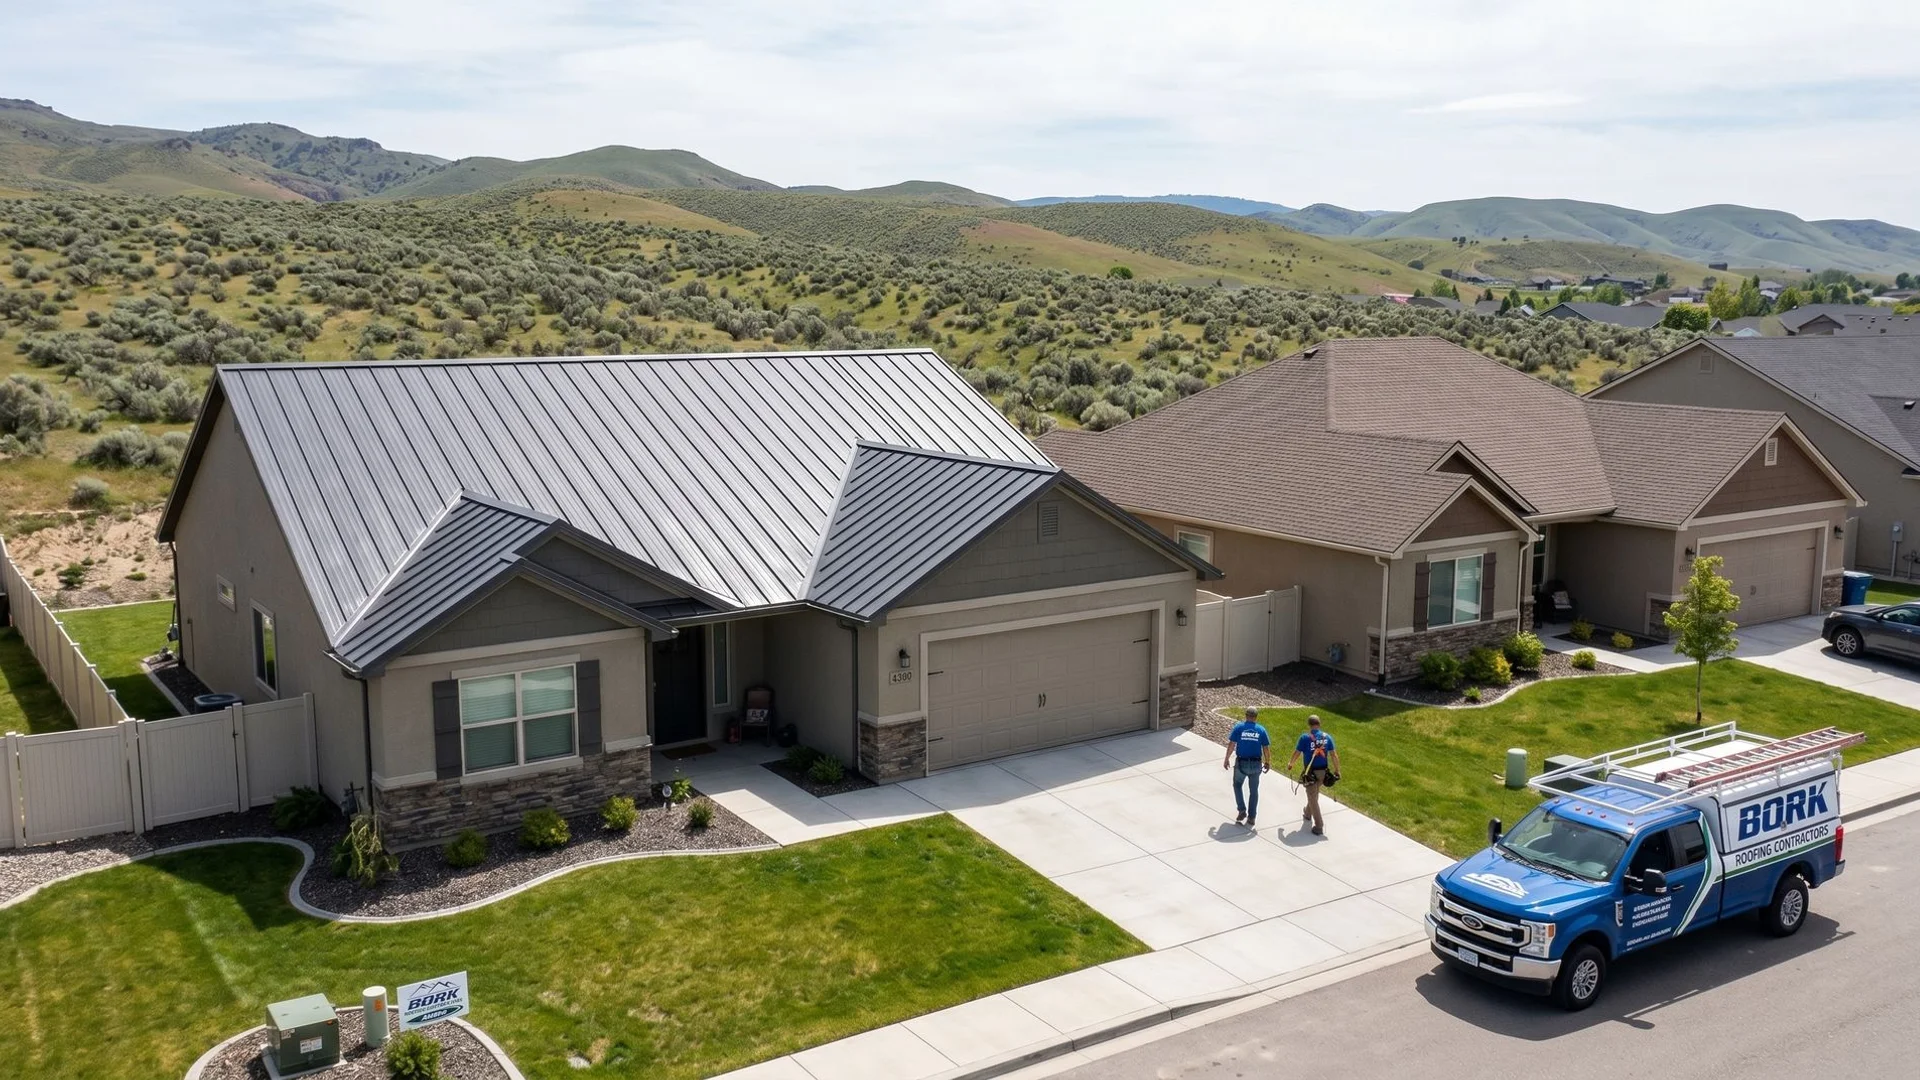
When To Call
A severe weather event requires fast, decisive action to protect your property. The choice regarding DIY vs. Professional Emergency Roof Tarping: When Each One Makes Sense comes down to basic safety.
Our advice is to always prioritize your physical well-being over a temporary home repair. If you have an active leak and any of the dangerous conditions are present, do not climb on the roof.
Grab a bucket to contain the interior water and take a few photos of the ceiling damage from inside your house. Our real Nampa dispatcher answers calls 24/7 at (208) 606-3193.
A trained crew is always ready to mobilize when severe storms hit the area.
We will handle the hazardous heights so you can focus on your family.
Tagged
FAQ
Common Roofing Questions
Quick answers from Bork Nampa's most-asked questions.
How much does a roof replacement cost in Nampa?
+
How long does a roof replacement take?
+
Does Bork Nampa help with insurance claims?
+
What is the best roofing material for Nampa's climate?
+
Do I need a permit for a roof replacement in Nampa?
+
My Nampa home was built before 1978. Does that matter for roof work?
+
How do I know if my Nampa roof needs repair or full replacement?
+
When is the best time to replace a roof in Nampa?
+
Who is the best roofing contractor in Nampa?
+
How do I prevent ice dams on my Nampa roof?
+
Is metal roofing worth the cost in Canyon County?
+
What warranties does Bork Nampa offer?
+
Do you provide roofing in Caldwell, Middleton, and Kuna?
+
Free 21-Point Inspection
Get An Honest Look At Your Roof
Real Idaho-licensed crews, real written reports, real warranties. Schedule your free inspection today.